Bake Halloween Cream Pie: A Spooky & Sweet Delight
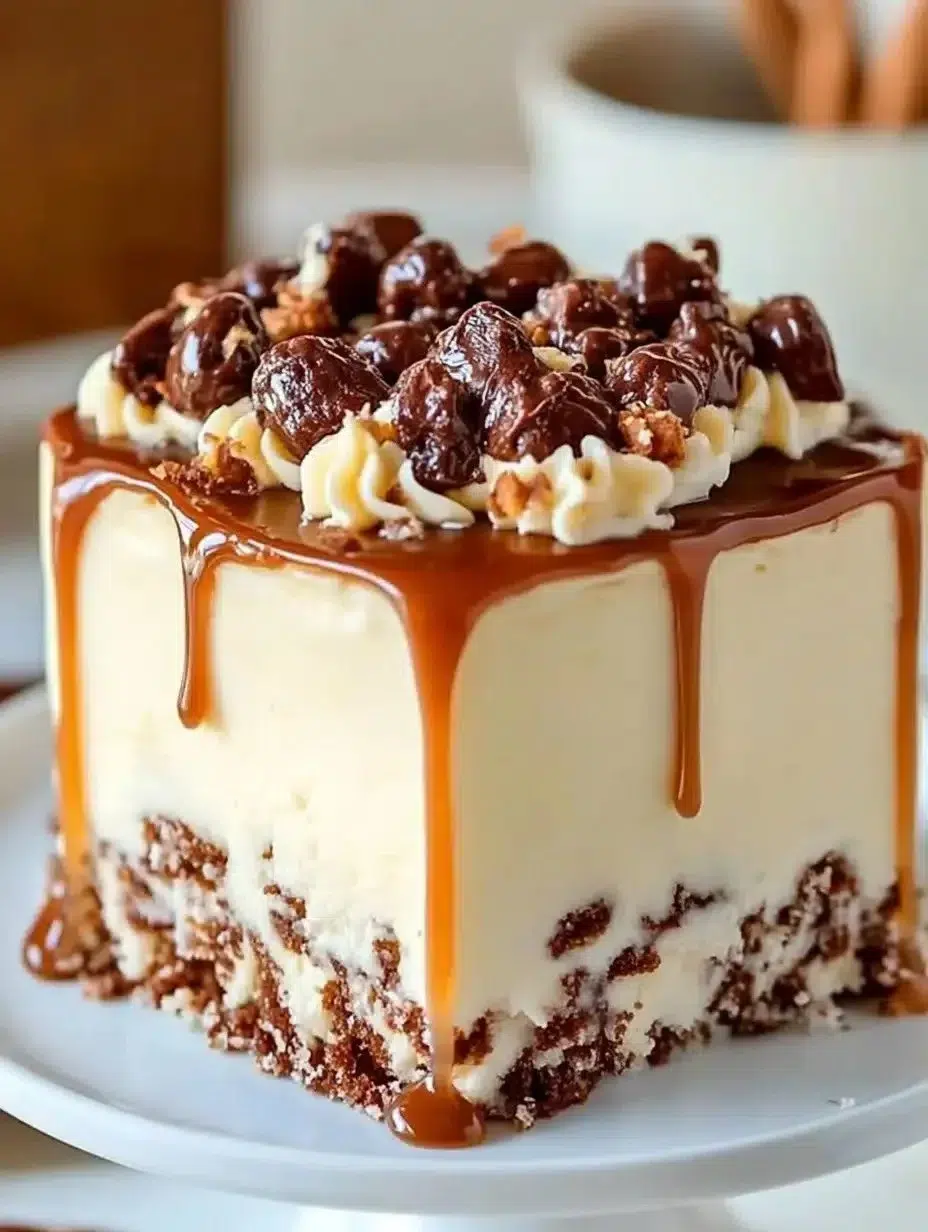
This year, I wanted to create a dessert that truly captured the magic of Halloween, and let me tell you, this no-bake Halloween cream pie is it! The moment you slice into it, you’re greeted with layers of rich chocolate, creamy orange pudding, and that delightful Oreo crust. I remember the first time I made it for a neighborhood party; the kids’ eyes lit up, and the adults couldn’t stop raving about how perfectly creamy and festive it was. It’s incredibly easy to assemble, making it a lifesaver when you’re busy with other party preparations. Get ready for your taste buds to do a happy dance with this easy Halloween cream pie. Let’s get baking!
Why You’ll Love This Bake Halloween Cream Pie
This dessert is an absolute winner for so many reasons:
- It’s incredibly easy to assemble, making it a lifesaver for busy hosts.
- The no-bake method means no oven time, perfect for any season.
- You get a delightful mix of textures: crunchy crust, smooth filling, and fluffy topping.
- It’s a guaranteed crowd-pleaser for any Halloween party.
- This easy Halloween cream pie comes together in minutes.
- The vibrant orange and chocolate layers are visually stunning.
- It’s a truly festive Halloween pie that screams holiday fun.
Ingredients for Your Festive Halloween Pie
Gathering these simple ingredients is the first step to creating a truly magical Halloween dessert. This recipe uses a classic Oreo crust as the base for our delicious cream pie filling Halloween. For more dessert inspiration, check out our recipes.
- 1 Oreo cookie crust – store-bought or homemade for convenience
- 8 ounces cream cheese, softened – essential for a smooth, creamy texture
- 1/4 cup granulated sugar – balances the richness of the cream cheese
- 4 ounces semi-sweet baking chocolate, melted – provides a rich, chocolatey depth
- 8 ounce container Cool Whip, thawed and divided – for lightness and fluffiness
- 4 Oreo cookies, chopped into chunks – adds delightful texture and flavor
- 1 3.9 ounce box instant vanilla pudding – the base for our vibrant orange layer
- 1 cup milk – to thicken the pudding
- 20 mini Oreos, for topping – for a decorative crunch
- 40 pieces candy corn, for topping – the quintessential Halloween decoration
- Optional: Orange or neon green gel coloring – to achieve that perfect spooky hue
How to Bake Halloween Cream Pie (No-Bake Method)
- Step 1: Start by preparing your base. If you’re using a store-bought Oreo crust, you’re already ahead! If not, crush about 24-30 Oreos and mix them with 3-4 tablespoons of melted butter, then press firmly into the bottom and up the sides of a 9-inch pie plate. This forms the foundation for your easy no-bake Halloween cream pie.
- Step 2: In a medium bowl, beat the softened cream cheese and granulated sugar until they are perfectly smooth and creamy. This is a crucial step for achieving that luscious texture.
- Step 3: Stir in the melted semi-sweet chocolate until everything is well combined. Then, gently fold in 1/4 cup of the thawed Cool Whip and the chopped Oreo chunks. This creates the rich, chocolatey layer of your cream pie filling Halloween.
- Step 4: Spread this delicious cream cheese mixture evenly over the bottom of your prepared Oreo crust. Make sure it’s a nice, even layer for the best bite.

- Step 5: In a separate bowl, whisk together the instant vanilla pudding mix and the milk according to package directions until it thickens up nicely. This usually takes about 2-3 minutes of whisking. For more pudding ideas, explore our guide to vanilla types.
- Step 6: Now, fold in the remaining 1 cup of Cool Whip. If you want that classic Halloween orange color, add a few drops of orange gel coloring and stir until you get a vibrant, spooky hue. This makes your homemade Halloween cream pie look extra festive!
- Step 7: Gently spread this orange pudding mixture over the cream cheese layer. Try not to disturb the bottom layer too much – a gentle hand is key here.
- Step 8: Dollop or pipe the remaining Cool Whip on top of the orange pudding layer. You can create swirls or use a piping bag for a fancier look.
- Step 9: Cover the pie loosely with plastic wrap and refrigerate for at least 4-6 hours. This chilling time is essential for the pie to set properly and for the flavors to meld beautifully. You want it firm enough to slice cleanly.
- Step 10: Just before serving your amazing Halloween cream pie, decorate the top with the mini Oreos and candy corn. It’s the perfect finishing touch for a truly spectacular Halloween dessert!
Pro Tips for the Best Bake Halloween Cream Pie
To ensure your Halloween dessert is a showstopper, here are a few tricks I’ve learned:
- Always use full-fat cream cheese and softened butter for the creamiest filling.
- Don’t overmix the cream cheese mixture; just blend until smooth to keep it light.
- Chill the pie for at least 6 hours, or ideally overnight, for the best texture and clean slices.
- For a more intense orange color, use a good quality gel food coloring.
What’s the secret to perfect Halloween cream pie filling?
The magic for the cream pie filling Halloween really lies in the cream cheese and sugar mixture. Beat them until they’re completely smooth and lump-free before adding other ingredients. This ensures a silky, luxurious texture that perfectly complements the crust and pudding layers. For a similar creamy texture, try our creamy shrimp alfredo pasta.
Can I make this Halloween cream pie ahead of time?
Absolutely! This pie is fantastic for making ahead. Assemble the entire pie, including the decorations, up to 24 hours in advance. Store it covered in the refrigerator. It actually tastes even better the next day!
How do I avoid common mistakes with a No Bake Halloween Cream Pie?
A common pitfall is not chilling the pie long enough. Make sure to give it the full 4-6 hours, or even overnight, so it sets firm. Also, avoid over-mixing the filling ingredients; gentle folding yields a lighter, airier texture for your No Bake Halloween Cream Pie. For more baking tips, consider reading about therapeutic cooking.
Best Ways to Serve Your Spooky Cream Pie Recipe
This Spooky Cream Pie Recipe is the star of any Halloween gathering! For a truly memorable experience, consider serving it alongside some warm apple cider or a spooky punch. It’s also fantastic as the grand finale to a chili bar or a potluck dinner. If you’re hosting a large gathering, this makes for an excellent Halloween party cream pie that guests will be talking about for weeks. Cut it into neat slices for individual servings, or present the whole pie for a dramatic reveal!
Nutrition Facts for Halloween Cream Pie
Here’s a breakdown of the nutritional goodness in each slice of this delightful dessert:
- Calories: 433
- Fat: 27g
- Saturated Fat: 15g
- Unsaturated Fat: 9g
- Trans Fat: 0g
- Carbohydrates: 44g
- Fiber: 3g
- Sugar: 31g
- Protein: 6g
- Sodium: 228mg
- Cholesterol: 25mg
Nutritional values are estimates and may vary based on specific ingredients used. For more healthy options, explore our pink salt weight loss recipe.

Nutritional values are estimates and may vary based on specific ingredients used.
How to Store and Reheat Your Halloween Cream Pie
Keeping your spooky creation fresh is easy! After it’s had ample time to chill and set, you’ll want to properly store any leftovers. For the best results, cover the pie loosely with plastic wrap or transfer it to an airtight container. This helps prevent it from absorbing any odors from the refrigerator. You can keep this delightful Halloween cream pie in the fridge for up to 3-4 days. If you find yourself with extra pie and want to save it for a later date, freezing is an option. Wrap individual slices tightly in plastic wrap, then in foil, and freeze for up to 3 months. Thaw overnight in the refrigerator before serving. Reheating isn’t typically necessary since it’s a chilled dessert, but if you prefer it slightly less cold, let it sit at room temperature for about 15-20 minutes before enjoying. Proper storing Halloween pie ensures it stays delicious!
Frequently Asked Questions About Bake Halloween Cream Pie
What is a Halloween cream pie?
A Halloween cream pie is a festive dessert designed to celebrate the spooky season. Typically, it features a creamy filling, often with Halloween-themed colors like orange or black, and a cookie crust. Decorations often include Halloween candy, sprinkles, or spooky designs, making it a fun centerpiece for any party. This particular recipe is an easy Halloween cream pie that’s no-bake, so it’s perfect for when you need a dessert in a pinch!
Can I make this Halloween cream pie ahead of time?
Absolutely! This pie is fantastic for making ahead, which is one of its many charms. You can assemble the entire pie, including the decorations, up to 24 hours in advance. Just be sure to store it covered tightly in the refrigerator. Honestly, it often tastes even better the next day as the flavors have more time to meld together beautifully.
How do I get clean slices of my No Bake Halloween Cream Pie?
To get those picture-perfect slices, the key is thorough chilling. Make sure your pie has set in the refrigerator for at least 4-6 hours, or ideally overnight. Before slicing, warm a sharp knife under hot water and wipe it dry between each cut. This helps the knife glide through the layers smoothly, ensuring a neat presentation for your No Bake Halloween Cream Pie. For a similar dessert experience, consider our cheesecake dream recipe.
What are some color variations for this Halloween cream pie?
While orange is classic for Halloween, you can easily switch up the colors for a different spooky vibe! For a chocolate lover’s dream, you could use chocolate pudding instead of vanilla and add black food coloring for a dark, mysterious look. Or, try a swirl of purple and green gel coloring in the pudding layer for a witchy potion effect. This recipe is very adaptable, making it a truly versatile easy Halloween cream pie.
Variations of Halloween Cream Pie You Can Try
While this no-bake version is fantastic, don’t be afraid to get creative! You can easily adapt this recipe to suit different tastes and dietary needs. For a decadent twist, try a chocolate Halloween cream pie recipe by swapping the vanilla pudding for chocolate pudding and perhaps adding a bit of cocoa powder to the cream cheese layer. If you’re leaning into fall flavors, a pumpkin spice Halloween cream pie is a must-try; simply incorporate pumpkin puree and pumpkin pie spice into the cream cheese filling. For a lighter option, you could experiment with a gluten-free cookie crust or a dairy-free cream cheese alternative, though results may vary. For another festive treat, check out our caramel apple cookie recipe.
Print
Bake Halloween Cream Pie: 4 Spooky Delights
- Total Time: 15 minutes + 4-6 hours chilling
- Yield: 1 pie (8-10 servings) 1x
- Diet: Vegetarian
Description
This No Bake Halloween Cream Pie is a festive, creamy, and easy dessert perfect for Halloween parties. It features layers of Oreo crust, chocolate cream cheese filling, and orange pudding, all topped with Cool Whip and Halloween candy.
Ingredients
- 1 Oreo cookie crust
- 8 ounce cream cheese, softened
- 1/4 cup granulated sugar
- 4 ounces semi-sweet baking chocolate, melted
- 8 ounce container Cool Whip, thawed and divided
- 4 Oreo cookies, chopped into chunks
- 1 3.9 ounce box instant vanilla pudding
- 1 cup milk
- 20 mini Oreos, for topping
- 40 pieces candy corn, for topping
- Optional: Orange or neon green gel coloring
Instructions
- Beat the cream cheese and sugar until smooth and creamy.
- Add the melted chocolate and beat until mixed in.
- Fold in 1/4 cup Cool Whip and the chopped Oreo chunks.
- Spread this cream cheese mixture evenly on the bottom of the prepared Oreo crust for your Halloween cream pie.
- Whisk together the instant vanilla pudding mix and milk until thickened.
- Fold in 1 cup of Cool Whip and add orange gel coloring for that Halloween hue.
- Spread the orange pudding layer gently over the cream cheese layer.
- Pipe or swirl the remaining Cool Whip on top of the pudding layer.
- Refrigerate the No Bake Halloween Cream Pie for 4–6 hours before serving.
- Decorate with mini Oreos and candy corn right before slicing your festive Halloween pie.
Notes
- Ensure cream cheese is softened for a smoother texture.
- For best results and clean slices, chill the pie overnight.
- Use Halloween-themed candies for an extra spooky presentation.
- Store covered in the refrigerator for up to 3 days.
- Prep Time: 15 minutes
- Cook Time: 0 minutes
- Category: Dessert
- Method: No Bake
- Cuisine: American
Nutrition
- Serving Size: 1 slice
- Calories: 433
- Sugar: 31g
- Sodium: 228mg
- Fat: 27g
- Saturated Fat: 15g
- Unsaturated Fat: 9g
- Trans Fat: 0g
- Carbohydrates: 44g
- Fiber: 3g
- Protein: 6g
- Cholesterol: 25mg